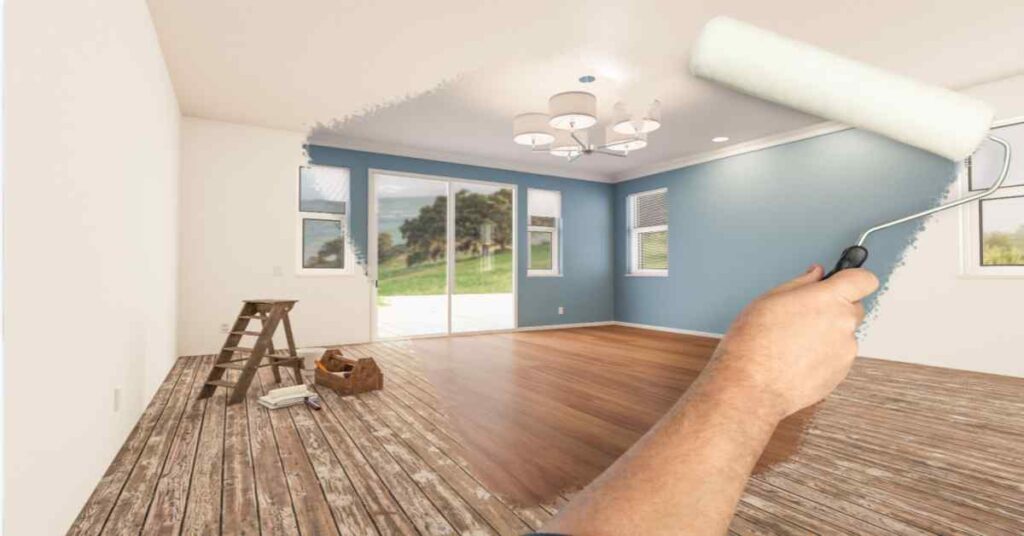
Painting and finishing are essential elements in home improvement and interior design. They can transform the look and feel of a space, add personality, and protect surfaces from wear and tear. Whether you are planning to refresh a single room or undertake a comprehensive home renovation, understanding the basics of painting and finishing can help you achieve professional-quality results.
Choosing the Right Paint
Selecting the appropriate paint is the first step in any painting project. Paints are available in various types, finishes, and colors, each suited to different applications and desired outcomes.
Types of Paint:
Latex Paint: Water-based and easy to clean up, latex paint is popular for interior walls and ceilings due to its low odor and quick drying time.
Oil-Based Paint: Known for its durability and smooth finish, oil-based paint is ideal for trim, doors, and high-traffic areas. However, it has a stronger odor and longer drying time.
Acrylic Paint: A type of water-based paint that is more flexible and durable than traditional latex, making it suitable for both interior and exterior surfaces.
Finishes:
Flat/Matte: Non-reflective and ideal for hiding imperfections, flat paint is best for ceilings and low-traffic areas.
Eggshell: Slightly reflective and more washable than flat paint, eggshell is a good choice for living rooms and bedrooms.
Satin: With a smooth, pearl-like finish, satin paint is durable and easy to clean, making it suitable for kitchens, bathrooms, and hallways.
Semi-Gloss: Shiny and highly durable, semi-gloss paint is perfect for trim, doors, and cabinets.
Gloss: The most reflective and durable finish, gloss paint is often used for furniture and detail work.
Preparing Surfaces
Proper surface preparation is crucial for achieving a smooth, long-lasting paint job. Follow these steps to prepare your surfaces:
Cleaning: Remove dirt, grease, and dust from the surfaces to be painted. Use mild soap and water for most surfaces, and a degreaser for areas with heavy grime.
Repairing: Fill holes and cracks with spackle or wood filler, and sand smooth once dry. Repair any damaged areas to ensure a uniform finish.
Sanding: Lightly sand glossy or rough surfaces to create a smooth, even base for the paint. This helps the paint adhere better.
Priming: Apply a primer to surfaces, especially if you are painting over a dark color, painting new drywall, or dealing with stains. Primer improves paint adhesion and provides a consistent base for color application.
Painting Techniques
Effective painting techniques can make a significant difference in the final result. Here are some tips for painting like a pro:
Cutting In: Use a high-quality angled brush to paint edges, corners, and around trim. This technique, known as cutting in, helps create clean lines and prevents paint from getting on adjacent surfaces.
Rolling: Use a roller for larger, flat surfaces such as walls and ceilings. Start by loading the roller with paint and rolling it in a “W” or “M” pattern to distribute the paint evenly. Then, fill in the gaps with parallel strokes.
Multiple Coats: Applying multiple thin coats of paint rather than one thick coat ensures a smoother finish and better coverage. Allow each coat to dry completely before applying the next.
Feathering: When painting large areas, feather the edges of each section by lightly overlapping strokes. This prevents visible lines and creates a seamless finish.
Finishing Touches
Finishing touches can elevate the look of your painted surfaces and add a professional touch:
Trim and Molding: Paint trim, baseboards, and molding with a semi-gloss or gloss finish for durability and easy cleaning. Use painter’s tape to protect adjacent surfaces and create sharp lines.
Accent Walls: Adding an accent wall in a contrasting or bold color can create a focal point and add visual interest to a room. Choose a wall that naturally draws attention, such as one with a fireplace or large window.
Faux Finishes: Techniques such as sponging, rag rolling, and stenciling can add texture and dimension to your walls. These decorative finishes can create the look of marble, wood, or other materials.
Protective Coatings: For high-traffic areas or surfaces exposed to moisture, consider applying a clear protective coating, such as polyurethane or a sealant. This helps preserve the paint and extend its lifespan.
Conclusion
Painting and finishing are powerful tools for transforming and enhancing your home. By choosing the right paint, preparing surfaces properly, using effective painting techniques, and adding finishing touches, you can achieve stunning results that reflect your personal style and improve the overall aesthetics of your living spaces. Whether you are a DIY enthusiast or hiring professionals, understanding the fundamentals of painting and finishing will help you create beautiful, long-lasting finishes throughout your home.


